- 1. Precautions during the installation phase1. Environmental requirements
• Ventilation and heat dissipation: The installation location must ensure air circulation. Flammable materials (such as paint and cloth) must not be stacked within 1 meter around it. Keep away from water sources and humid environments (humidity ≤85% RH).
• Temperature limit: The installation environment temperature should be between -10℃~40℃, avoiding direct sunlight or high temperature radiation (such as near furnaces and ovens).
• Space reservation: A maintenance space of more than 50cm must be reserved on the top and sides of the heater, and a fireproof metal mesh (aperture ≤5mm) must be installed at the inlet and outlet of the air duct.
2. Electrical connection specifications
• Power supply matching: Strictly connect to the power supply according to the voltage (such as 380V/220V) and frequency (50Hz) marked on the nameplate, use an independent distribution box, and equip with an overload protection circuit breaker (rated current is 1.5~2 times the power of the equipment).
• Grounding requirements: The housing must be reliably grounded (grounding resistance ≤ 4Ω), and it is forbidden to mix it with the neutral line to avoid electric shock accidents caused by leakage.
• Cable specifications: The cross-sectional area of the power line must meet the load requirements (such as 10kW equipment requires ≥4mm² copper wire), the terminal must be firmly crimped, and insulation treatment must be done (such as wrapping high-temperature resistant insulation tape).
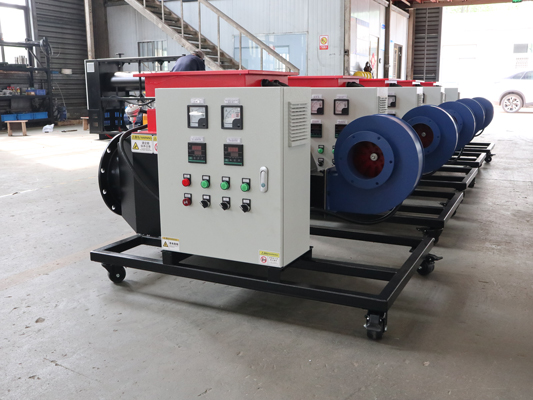
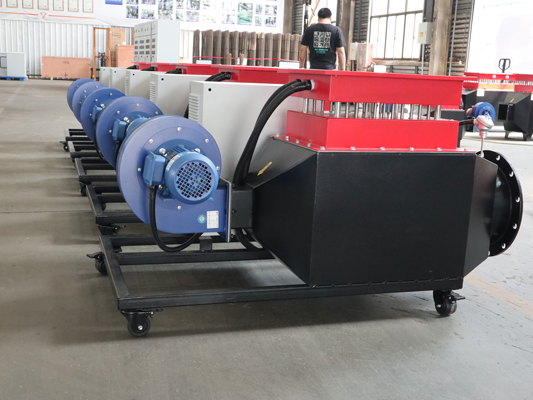
3. Duct and fan installation
• Fan interlocking: The heater and fan must be electrically interlocked (the fan starts first, and the heater is powered on later; when shutting down, the heater is powered off first, and the fan is delayed for 5~10 minutes).
• Duct sealing: High-temperature resistant sealant (temperature resistance ≥ 200℃) must be used at the duct interface to avoid air leakage affecting the heating efficiency, and the duct material should be galvanized steel plate or stainless steel (to prevent rust and blockage).
2. Operation and use specifications
1. Check before starting
• Confirm that the fan blades are not stuck, there are no debris (such as screws, paper scraps) in the air duct, and the temperature sensor probe is not damaged.
• Check whether the thermostat setting value (such as target temperature, over-temperature alarm value) meets the process requirements (common range: 60~200℃).
2. Start-up process
1. Turn on the main power switch and observe whether the control panel indicator light is normal (power light is on, no fault alarm).
2. Start the fan first (run for 3~5 minutes) and confirm that the wind pressure is normal (the wind pressure switch indicator light is on).
3. Turn on the heating switch, and the heating element gradually heats up (such as step heating, first turn on 1st gear, and then turn on 2nd gear after 5 minutes) to avoid instantaneous excessive power.
3. Monitoring during operation
• Temperature monitoring: Check the temperature displayed on the thermostat in real time. If the temperature rises too slowly (more than 30 minutes without reaching 80% of the set value), it may be that the heating tube is damaged or the air duct is leaking, and it is necessary to stop the machine for inspection.
• Abnormal sound: If you hear abnormal sound from the fan or cracking sound from the component, press the emergency stop button immediately to cut off the power supply.
• Load control: Do not use overpower (such as a 15kW rated device connected to a 20kW load) to prevent the heating tube from overheating and burning.
4. Shutdown and cooling
• Turn off the heating switch first, and continue to run the fan until the outlet temperature drops below 50℃ (about 10~15 minutes) to prevent residual heat from damaging the components.
• When shutting down for a long time (more than 1 month), cut off the main power supply and cover the equipment with a dust cover to prevent dust accumulation.
If you want to know more about our product, please contact us!
Post time: Jul-10-2025


